Air fryer vegetable crisps can stay properly crisp, but they need a slightly fussier method than chips or roast veg. The short version is this: choose vegetables with a decent chance of drying out well, slice them very evenly, remove as much surface moisture as you can, cook in small batches at a moderate temperature, and let them cool completely before deciding whether they are done. Much of the final crunch happens in the last few minutes out of the fryer, not only inside it.
If you have tried once and ended up with bendy beetroot, leathery courgette or singed edges with soft middles, the problem is usually not the air fryer itself. It is moisture, sugar, overcrowding, or all three at once. Once you understand how to make vegetable crisps in an air fryer so that moisture escapes instead of steaming back into the slices, the results become far more reliable.
Which vegetables work best for air fryer crisps?
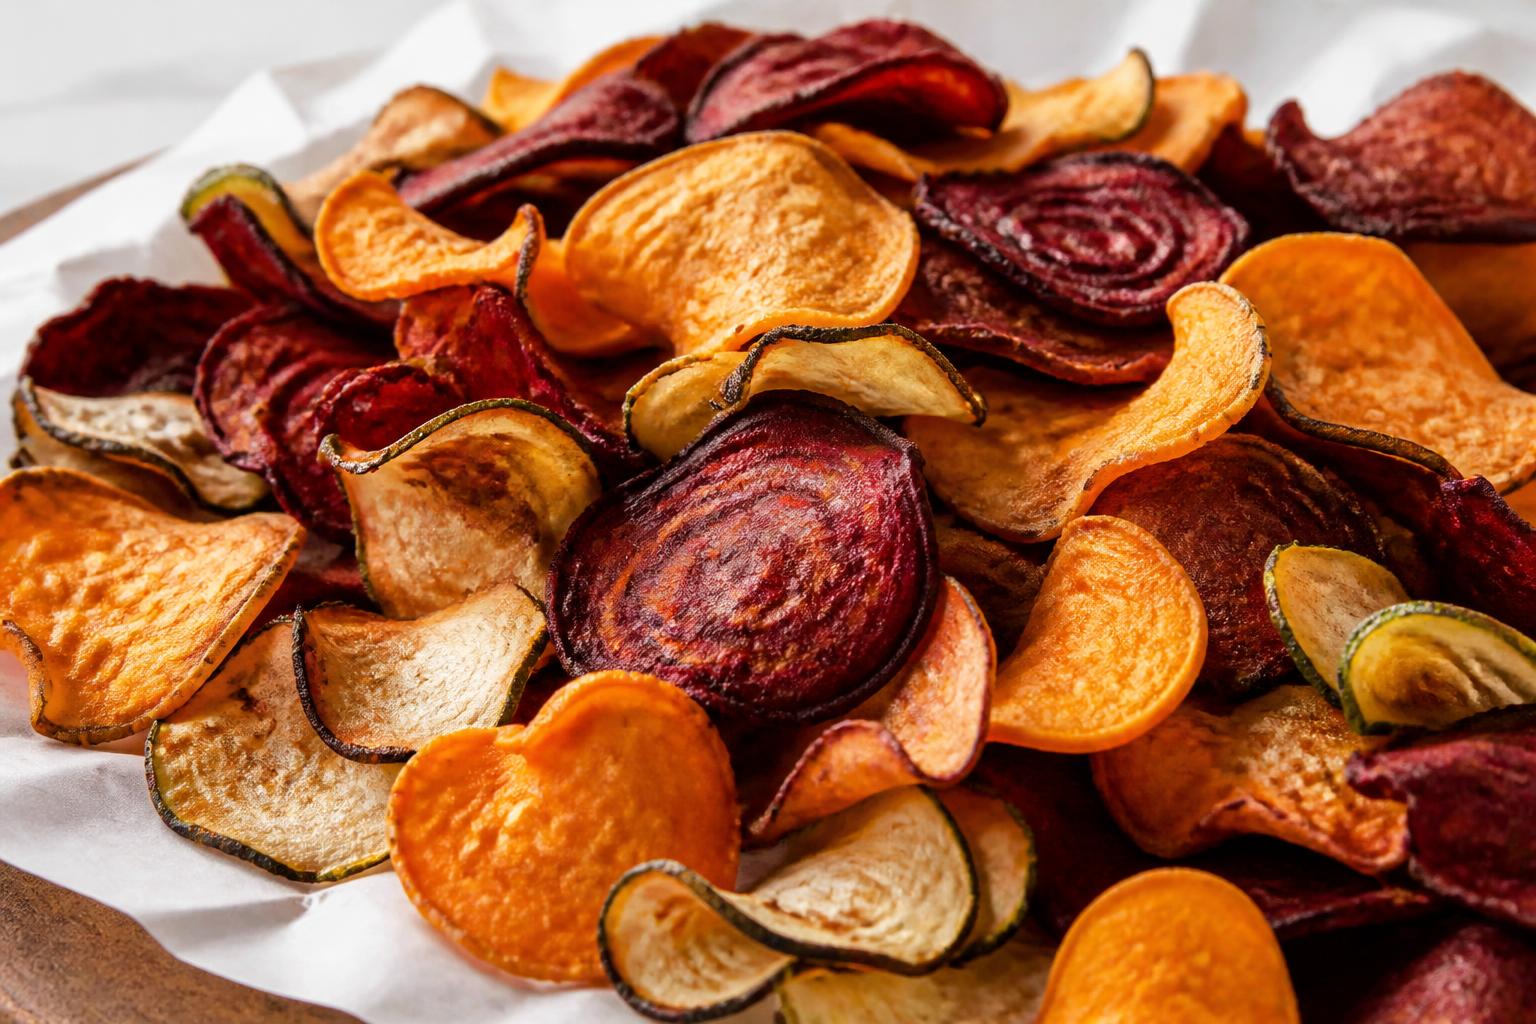
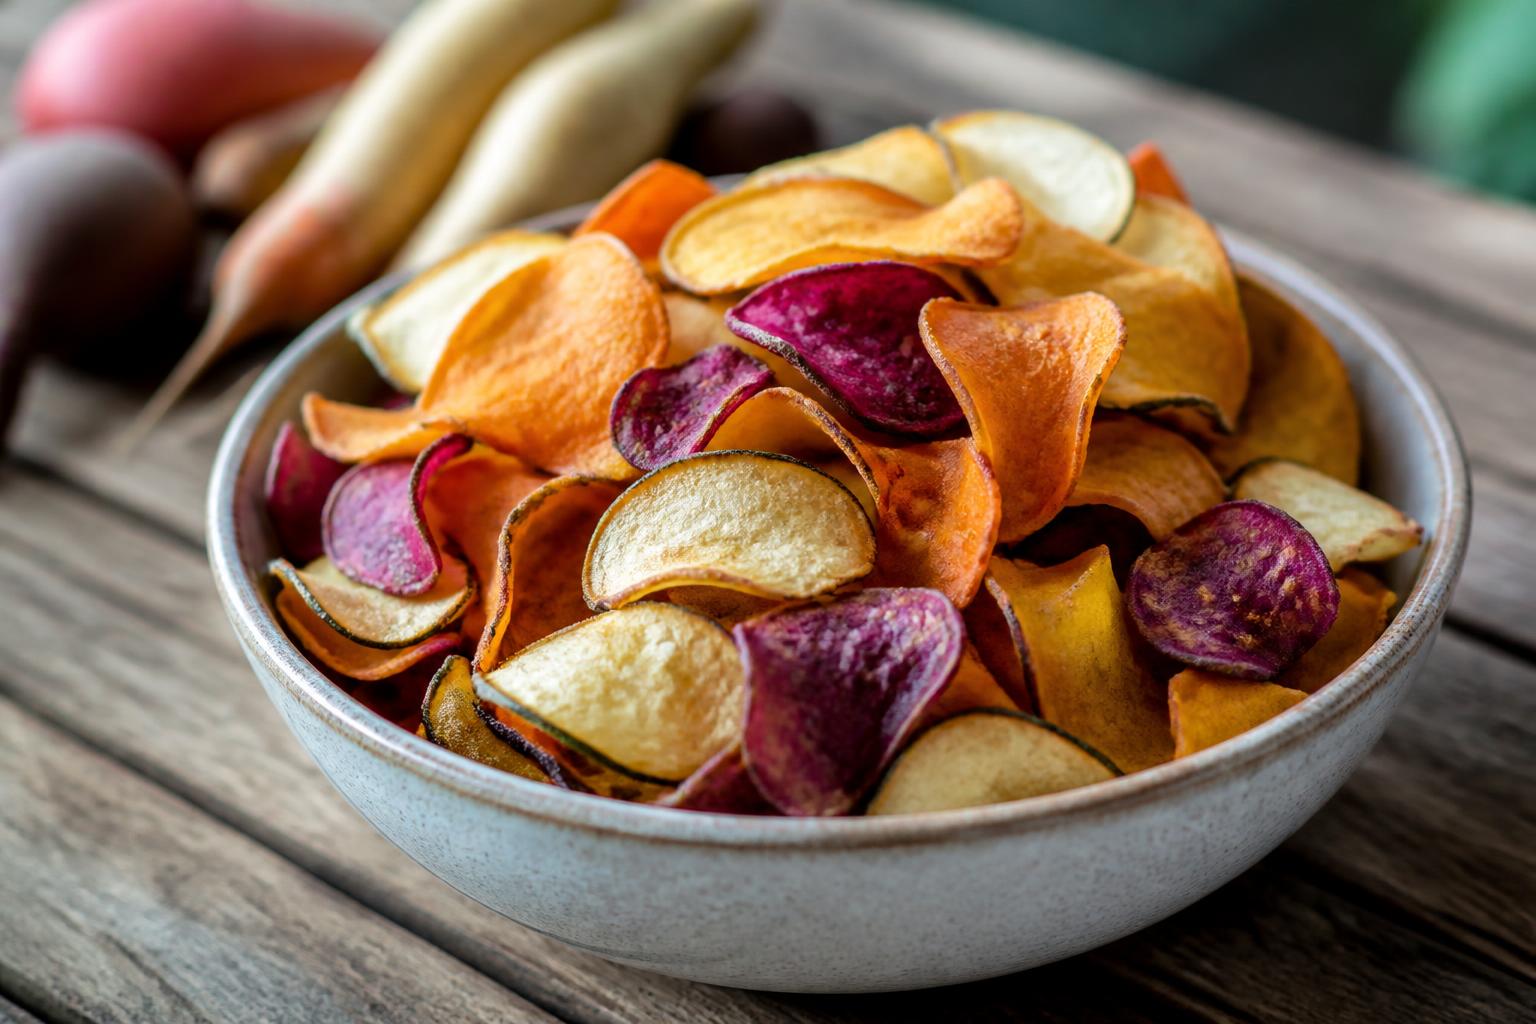
The most reliable vegetables are the ones that can lose water fairly quickly without collapsing into a floppy sheet. In everyday UK kitchens, the easiest wins are potatoes, sweet potatoes, parsnips, carrots and beetroot. These all slice neatly, hold their shape, and can turn crisp if you keep the slices thin and the batch size sensible.
Parsnips and potatoes are especially forgiving. They contain starch, which helps with structure, and they tend to crisp more evenly than very watery vegetables. Sweet potato works well too, although it can stay slightly chewier in the centre because of its sugar content. Beetroot makes beautiful crisps, but it can catch and darken quickly, so it needs close watching.
Carrots sit somewhere in the middle. They crisp well at the edges and can become fully crisp all over if sliced very thinly. If they are a touch thicker, they often come out more like crunchy wafers than brittle crisps, which is still a good result.
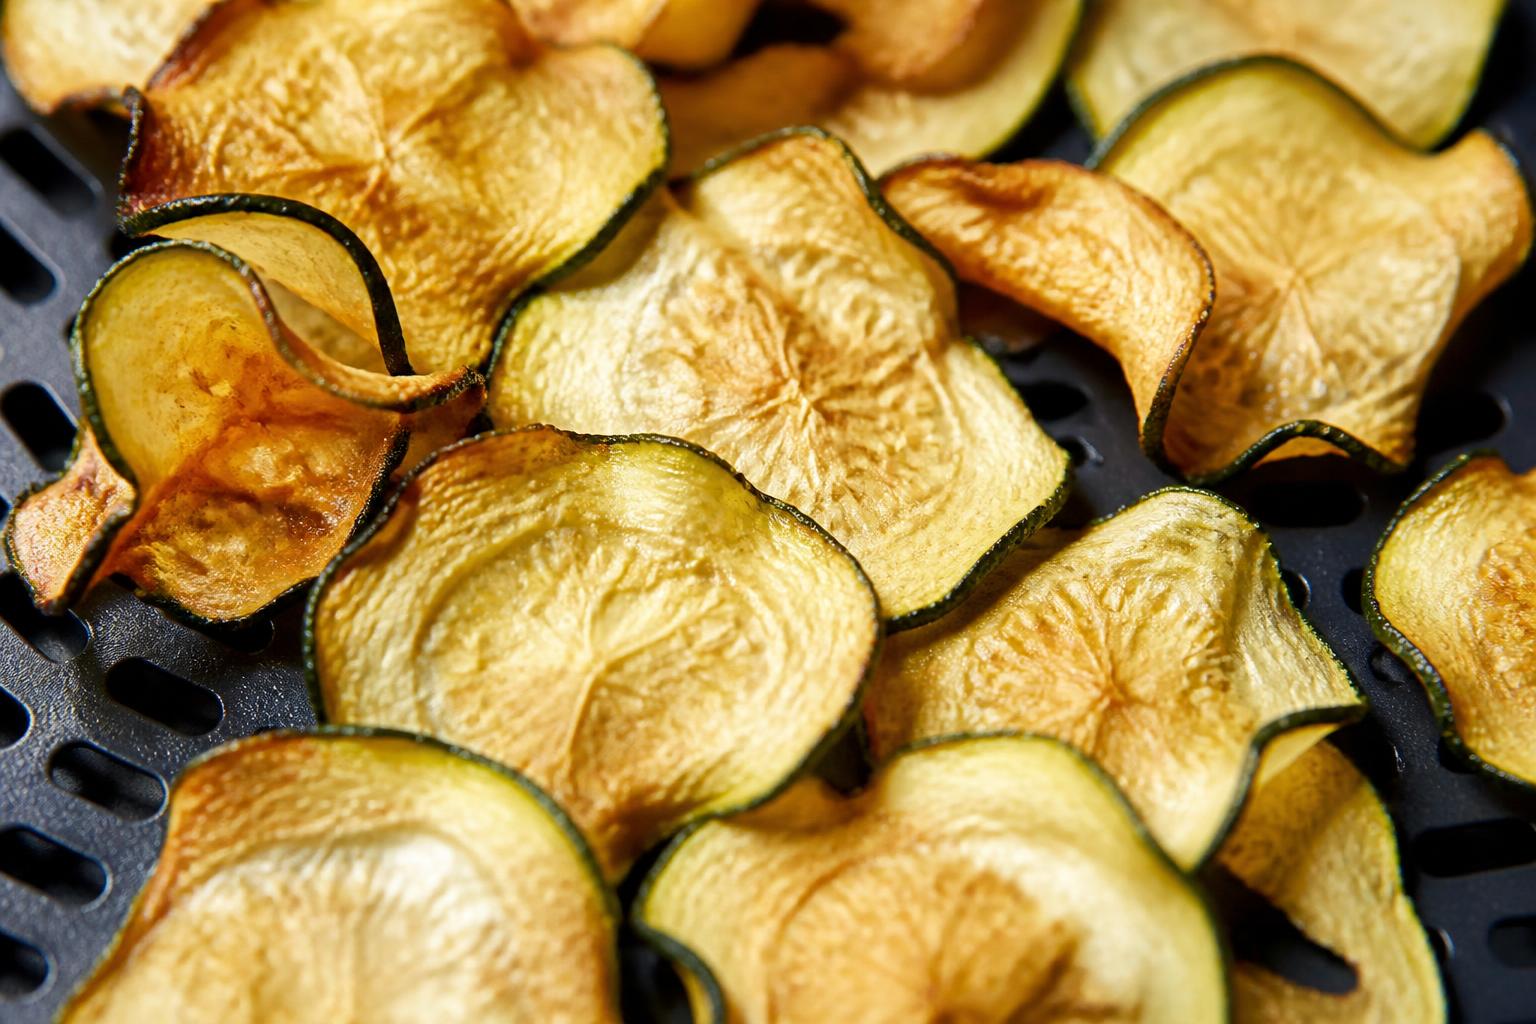
Trickier vegetables include courgette, cucumber and aubergine. They contain a lot of water, so they are much more likely to steam, soften and then go limp. You can make them work, but they are less dependable if what you want is a proper packet-crisp snap. Kale is another category altogether. It turns crisp beautifully, but it behaves more like a leaf snack than a sliced vegetable crisp.
Sugar matters too. Vegetables with more natural sugar, such as beetroot and sweet potato, brown faster. That does not mean they are wrong for the air fryer, only that they need lower heat or shorter cooking times than you might expect. Water matters even more. The more water a vegetable starts with, the more carefully you need to slice, dry and space it.
If you are making your first batch, start with parsnip, potato or carrot. They give you the clearest feel for timing and texture. Then move on to beetroot and sweet potato once you are comfortable checking early and often. If you are also weighing up whether homemade veg crisps are meaningfully different from standard crisps, our guide to whether vegetable crisps are a healthy swap for potato crisps covers the trade-offs sensibly.
How thin should you slice them?
Thin enough to dry out before they burn, but not so thin that they tear, fold or vanish at the edges. For most root vegetables, about 1 to 2mm is the sweet spot. If you go much thicker than that, the slices are more likely to roast than crisp. If you go much thinner, especially with beetroot or sweet potato, they can colour too fast and become bitter at the rim.
Exact measurement matters less than consistency. A tray of perfectly even 1.5mm slices will cook far better than a bowl containing some paper-thin rounds and some chunky coins. Uneven slices are one of the biggest reasons a batch feels frustrating. The thin ones burn while you wait for the thick ones to finish.
A mandoline is the easiest tool for this job. It gives you repeatable thickness and speeds things up massively. Use the hand guard. Root vegetables are awkward shapes and not worth slicing freehand at speed. A food processor with a slicing disc also works well, particularly if you are making larger batches. A sharp knife can do the job, but it is harder to keep every slice even, especially with beetroot and sweet potato.
There is one small exception to the thin-is-best rule. Very delicate vegetables can benefit from being sliced just a touch thicker so they do not collapse immediately. Courgette, for example, often behaves better at the upper end of thin, provided you salt or dry it well first. But for the dependable vegetables, thin and even wins every time.
If your slices come out oval, ragged or mixed in size, sort them before cooking. Keep similar pieces together. That way you can remove one group early without disturbing the rest. It sounds fussy, but it is one of the simplest ways to improve a homemade batch.
Do you need to soak or dry the slices first?
Sometimes yes, sometimes no.
Soaking is most useful for starchy vegetables, especially potato. A short soak in cold water helps wash off excess surface starch, which can otherwise make slices stick together and colour unevenly. Ten to twenty minutes is enough. After soaking, drain thoroughly and dry very well with a clean tea towel or kitchen paper. If they go into the basket damp, the benefit of soaking is mostly lost.
Sweet potato does not usually need soaking. Carrot, parsnip and beetroot do not really need it either. With these, drying is the more important step. Their main issue is not excess starch but moisture on the surface and within the cut cells. The drier the outside, the sooner the hot circulating air can start dehydrating rather than steaming.
Drying is useful for almost every vegetable. After slicing, spread the pieces on a tea towel or layers of kitchen paper and pat them dry. If you have time, leave them uncovered for ten or fifteen minutes as well. That brief air exposure helps more than people expect.
For very watery vegetables such as courgette, a light salting can help draw out moisture. Toss the slices with a little salt, leave them in a colander for fifteen to twenty minutes, then blot them dry thoroughly. Do not skip the drying part or they will simply taste salty and still steam in the fryer.
What you are trying to avoid is visible wetness. Oil and seasoning cling better to dry slices, and dry slices crisp more readily. If you are learning how to make vegetable crisps in air fryer cooking that actually stay crisp beyond the first five minutes, this is one of the most important habits to build.
How do you cook vegetable crisps in an air fryer without burning them?
Use less oil than you think, less heat than you might use for chips, and fewer slices per batch than feels efficient.
Start by tossing the dried slices with a very small amount of oil, just enough to coat lightly. A teaspoon or two can cover a surprisingly large bowl if you mix well with your hands. You do not want greasy slices. Too much oil can make them heavy and can slow down crisping. Neutral oils work well, and olive oil is fine if you like the flavour.
Season lightly at the start. Salt is fine before cooking for most sturdy vegetables, but sugary spices or delicate herbs are better added later because they can scorch. Paprika, garlic powder and onion powder can work, though use a restrained hand. Fine powders cling more evenly than coarse spice blends.
Set the air fryer to a moderate temperature, usually around 160C to 170C. Higher temperatures often seem tempting because they promise speed, but crisps need time to dry out. At 180C or above, many vegetables colour before they dehydrate properly. Beetroot and sweet potato in particular are safer at the lower end.
Arrange the slices in as close to a single layer as possible. A little overlap is manageable if the slices are sturdy and you shake frequently, but piling them up leads to steaming. If your air fryer basket is small, make peace with batches. Air fryer crisps are one of those jobs where crowding costs more time in the long run.
Cook for a few minutes, then check early. Shake the basket gently or turn the slices with tongs if needed. From there, keep checking every two to three minutes. The exact timing varies by vegetable, thickness and machine, but the pattern is the same. Some slices finish early and should come out first. Others need another round. Treat the batch like toast, not like a tray bake.
Do not judge doneness only by how they feel when hot. Many vegetable crisps are still slightly flexible when they leave the basket, then firm up as they cool. You are looking for mostly dry, lightly coloured slices with edges that feel set. If they are deeply browned before they have dried, the temperature is too high or the slices are too thin.
If you enjoy this sort of dialled-in crisping method, our piece on air fryer roasted chickpeas that stay crisp for longer uses the same basic logic, moisture out, airflow in, patience required.
Why are homemade vegetable crisps going soft?
Usually because water is still trapped somewhere, either in the slices, in the basket, or in the container you stored them in.
Overcrowding is the biggest culprit. When slices overlap too much, the air fryer stops acting like a drying chamber and starts acting like a steamer. The moisture leaving one slice settles on another, and instead of crisping they soften each other.
Uneven slices are another common problem. Thick pieces retain more internal moisture, while thin ones dry out quickly. That leaves you with a mixed batch where some are brittle, some are leathery and some are burnt at the edges. It is not bad luck, it is prep.
Residual moisture is the next issue. If you skipped drying after washing or soaking, or if the vegetables were naturally very wet, they may never have had a fair chance. Surface moisture delays crisping. Internal moisture then has less time to escape before browning begins.
Temperature can also work against you. Too hot, and the outside sets or darkens before the inside dries. Too cool, and the slices can slowly soften and dehydrate unevenly without ever reaching a proper crisp finish. Moderate heat with regular checking is usually better than extremes.
Storage is the final trap. Freshly cooked crisps can seem perfect, then turn soft in half an hour if they are packed while still warm. Steam released during cooling gets trapped in the container and rehydrates the batch. Even a good crisp will lose its edge if it sits in a closed tub with lingering warmth.
Some vegetables are simply less crisp-prone than others. Courgette may stay a bit leathery no matter how carefully you cook it. Sweet potato can lean chewy in the middle. That does not mean the method failed. It means the vegetable has its own ceiling. Part of learning how to make vegetable crisps in an air fryer is recognising which textures are realistic for each ingredient.
How should you cool, season and store them?
Cool them in a single layer, ideally on a wire rack or a plate lined loosely with kitchen paper. Do not leave them in the air fryer basket to sit in their own trapped heat. As they cool, steam escapes and the final texture settles. This is the moment when many almost-crisps become actual crisps.
If you are using delicate seasonings, add them after cooking while the slices are still just warm enough to hold a little oil on the surface. Finely grated Parmesan, vinegar powder, dried herbs, nutritional yeast, or a pinch of chilli can all work well at this stage. Fresh herbs are less helpful because they add moisture. If you want a salt and vinegar effect, use a dry seasoning rather than liquid vinegar, which softens the batch quickly.
Taste and adjust seasoning only after cooling for a minute or two. Hot crisps can seem less salty than cooled ones, and it is easy to overdo it. If you are making a mixed batch, season each vegetable separately where possible. Beetroot, parsnip and carrot do not all need the same amount.
For short-term storage, wait until the crisps are completely cold, then keep them in an airtight container lined with dry kitchen paper. A loosely sealed paper bag can work for a few hours if the room is dry, but for overnight storage a proper container is better. Even then, homemade vegetable crisps are at their best on the day they are made. They do not contain the same industrial drying, stabilising and packaging advantages as shop-bought snacks, so expect a shorter window of peak texture.
If they soften slightly, you can often revive them with a brief return to the air fryer for a minute or two at a low to moderate temperature, then cool them again. This works best if they were originally crisp and have only picked up a little moisture from the air. It will not rescue slices that were undercooked from the start.
Homemade crisps are never going to be identical to a sealed bag from the supermarket, and that is fine. The pleasure is in the freshness, the control over flavour, and the chance to turn ordinary veg into something snackable. If you like building that sort of everyday crunchy habit, you might also enjoy our guide to flax seed crackers made simple for everyday snacking.
The key thing is not to chase speed. Crisp vegetable slices are a drying project disguised as a snack. Once you treat them that way, thin slices, dry surfaces, moderate heat, space in the basket, full cooling time, the results become much more consistent. That is really how to make vegetable crisps in air fryer cooking work for you, not just once, but often enough to make it worth slicing the next batch.

Questions about this article or a correction to suggest? Get in touch. Read more about our editorial approach.