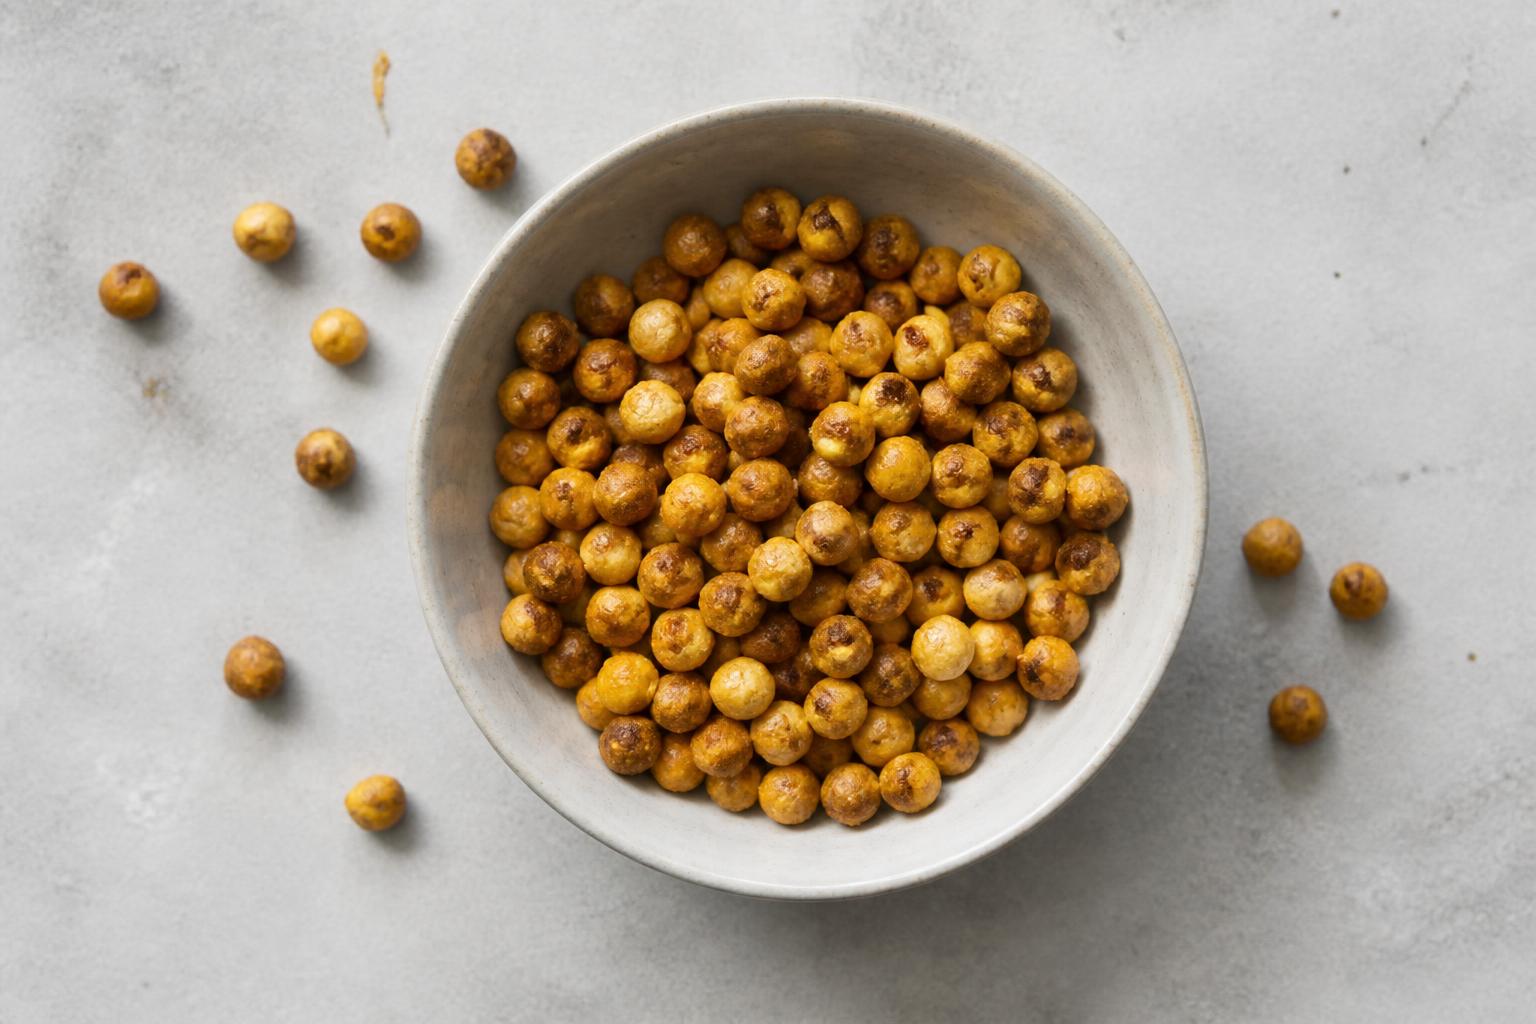
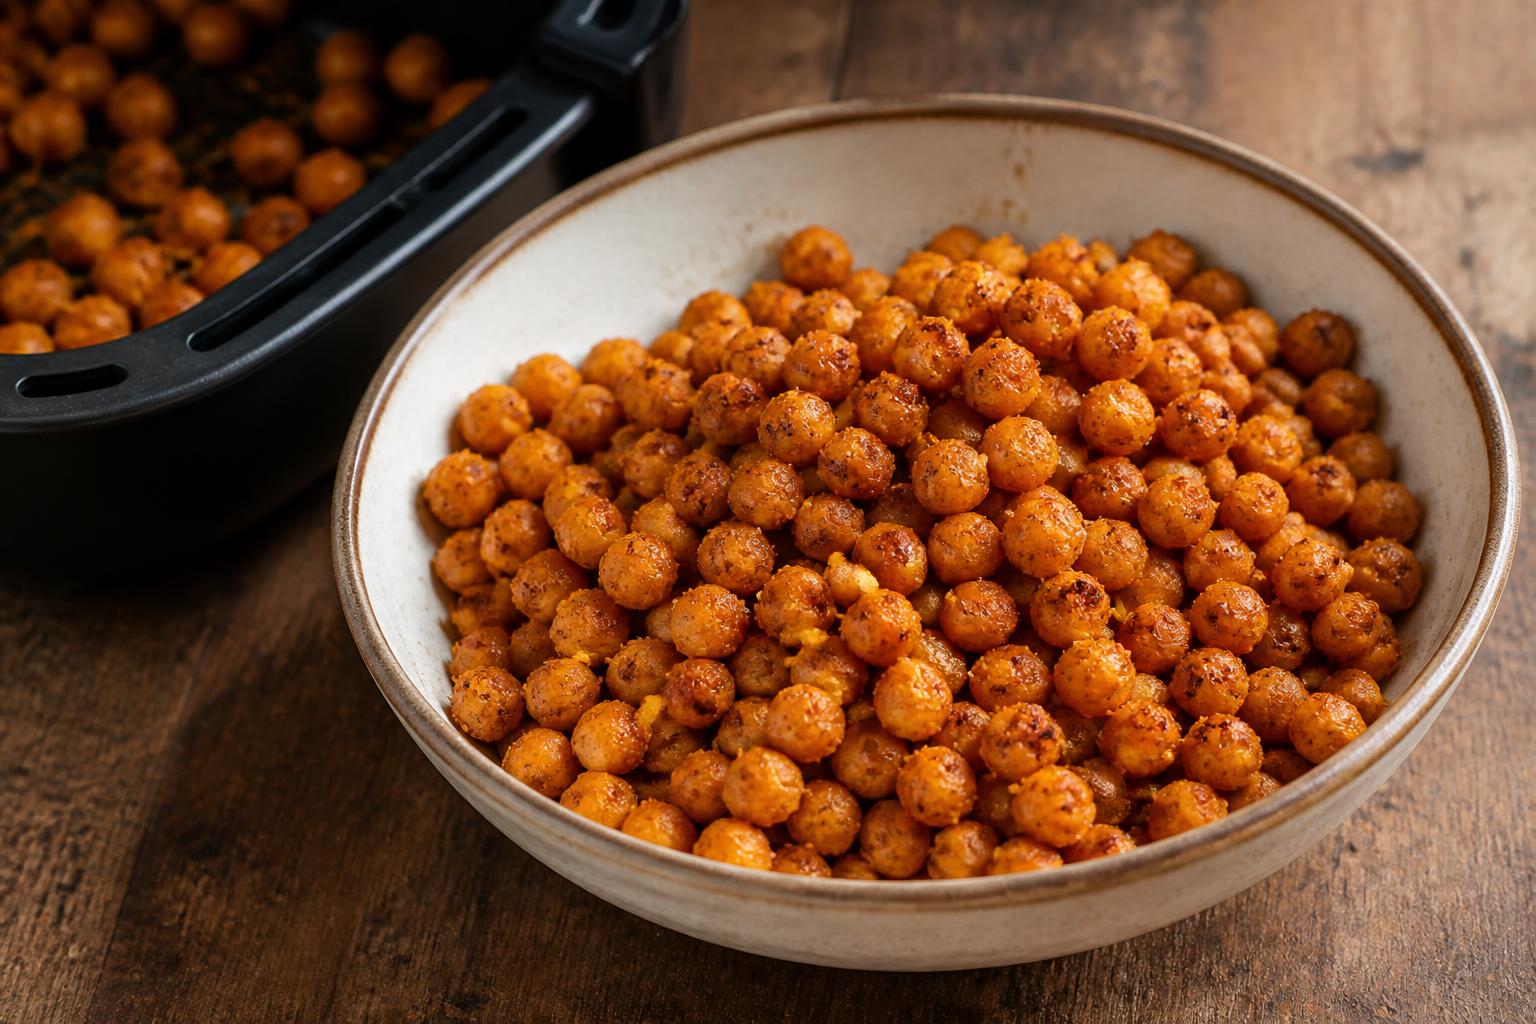
If you want air fryer roasted chickpeas that stay crisp for longer, the trick is not a secret seasoning or an extra-long cook. It is moisture control from start to finish. Dry chickpeas properly, use just enough oil to help the surface blister, season at the right moment, and let them cool fully before they go anywhere near a jar or tub.
A good roasted chickpeas recipe for the air fryer should give you shells that feel dry and snappy, not leathery, and centres that are crisp right through rather than merely warm and firm. Once you understand what makes them go crunchy, it becomes much easier to keep them that way for more than the first ten minutes.
Why air fryer chickpeas go crisp or turn chewy
Chickpeas crisp up when enough moisture leaves the surface and, with a bit more time, some moisture leaves the centre too. In an air fryer, that happens because hot moving air strips away steam faster than a still oven usually can. That airflow is the whole point. It helps the outside dry quickly and evenly.
Chewiness usually comes from one of four things.
First, the chickpeas went in too wet. Even a little clinging water from the tin can slow down browning and steaming off. Instead of roasting, they half-steam in their own moisture.
Second, the basket was crowded. Air fryers need gaps around food. If the chickpeas are piled too deeply, the bottom layer traps steam and the top layer colours before the centres have had time to dry.
Third, they were seasoned too early with ingredients that attract water. Salt, sugar, honey, maple syrup and some wet spice pastes can all pull moisture to the surface. That is useful in some recipes, but not when you want a proper crunch.
Fourth, they were stored before they had cooled completely. Warm chickpeas release steam. Put them in a container too soon and that steam has nowhere to go. The batch softens itself.
There is also a texture difference between crisp on the outside and crisp all the way through. If you stop cooking as soon as they look golden, you may get a lovely shell with a slightly soft middle. That can be perfect if you plan to eat them straight away. If you want them to stay crisp for longer, you usually need a few extra minutes at a moderate temperature so the centres dry out as well.
The variety and starting condition matter too. Tinned chickpeas are convenient and work well, but brands vary in size and moisture. Larger chickpeas often need a little longer. If one tin seems softer than another, trust the feel rather than the clock. Jarred chickpeas can behave similarly. Cooked-from-dry chickpeas can be excellent, but if they are slightly overcooked before air frying, they are more likely to split or go mealy.
How to prepare chickpeas for the best crunch
Start with drained chickpeas. Tinned are the easiest option for most of us. Tip them into a sieve, rinse if you like, then drain thoroughly. Rinsing is not essential for crispness, but it can wash away some of the canning liquid and any metallic note. If you rinse, you must dry them well afterwards.
Drying is where most of the work happens. Spread the chickpeas on a clean tea towel or plenty of kitchen paper and roll them gently. Pat rather than crush. You are not trying to split them open. You want the outsides as dry as possible. If you have time, leave them uncovered for 20 to 30 minutes after patting dry. That little bit of air drying helps more than people expect.
Peeling is optional, but useful. As you rub the chickpeas dry, some skins will loosen and fall away. Remove any that come off easily. You do not need to peel every chickpea one by one unless you find it oddly soothing. Fewer loose skins means less papery debris in the basket, and peeled chickpeas often crisp a little more evenly. That said, plenty of excellent batches are made with skins left on.
Oil should be light, not generous. A teaspoon to a tablespoon for a standard 400g tin, once drained, is usually enough depending on how much you are making and how assertive your air fryer runs. Too much oil can make the surface fry rather than dry, and the final texture can be heavier. Too little is better than too much. The chickpeas should look lightly glossy, not slick.
If you are making a plain savoury batch, resist adding salt at this stage if long-lasting crunch is the goal. Oil first, roast first, then season. If you are after maximum crispness with the least fuss, that one change does a lot of the heavy lifting.
One more practical point. If you use chickpeas from a tin with dents, leaks or bulging ends, do not use them. In the UK, canned food safety guidance is straightforward on damaged tins. A sound tin is the starting point. Once opened, any unused chickpeas should go into a covered container in the fridge and be used within a couple of days, not left in the opened tin.
A simple method for roasted chickpeas in an air fryer
Here is the method we use when we want a reliable crunchy snack rather than a hopeful experiment.
Drain one 400g tin of chickpeas. This usually gives you roughly 240g drained weight, depending on the brand. Rinse if you want to, then dry very thoroughly. Remove any loose skins.
Preheat the air fryer if your model benefits from it. Not every machine needs preheating, but many cook more evenly if you give them 2 to 3 minutes first. Set it to 190C.
Toss the dried chickpeas with 1 to 2 teaspoons of neutral oil. Rapeseed oil works well and is easy to find in UK kitchens. Olive oil is fine too, though its flavour is more noticeable.
Add the chickpeas to the basket in a single layer if possible. A little overlap is fine, but not a deep pile. If you are doubling the batch, cook in rounds rather than trying to force it all in at once.
Air fry for 12 minutes at 190C, shaking well every 4 minutes. At this point, check them. Some air fryers run hot and some tins produce smaller chickpeas that are already close to done.
Then reduce the temperature to 170C and cook for another 6 to 12 minutes, shaking once or twice more. This two-stage approach works well because the higher heat gets the surface going, while the slightly lower heat helps dry the centres without tipping the outsides into bitterness.
Look for these signs of doneness:
- the skins look dry and lightly blistered
- the chickpeas sound a bit rattly when you shake the basket
- one split open looks dry in the middle, not soft or cakey
- when you bite one after a minute or two of cooling, it is crisp through the centre
Do not judge them straight from the basket. Freshly cooked chickpeas can seem a touch softer while still very hot. Give one 2 minutes on a plate, then test. They often firm up as steam escapes.
For a very crunchy batch meant for storing, lean towards the longer end of the cooking range. For a batch you plan to scatter over a salad or soup immediately, you can stop slightly earlier and keep a bit more tenderness inside.
If you like building practical snack habits around everyday ingredients, our guide to healthy high-protein snacks that actually fit real life is a useful next read. Chickpeas sit nicely in that category when you want something savoury and shelf-friendly for the day.
When to add salt, spices and sweet coatings
Seasoning is where many crisp chickpea plans go slightly wrong. The timing matters as much as the flavour.
For plain salted chickpeas, add the salt after cooking while the chickpeas are still hot and carrying a trace of surface oil. Fine salt sticks best. If you salt before cooking, the batch can release moisture sooner and lose some of that dry-shell effect.
For ground spices such as smoked paprika, cumin, garlic granules, onion granules, curry powder or chilli powder, you have two good options.
The first is to add them during the last 2 to 3 minutes of cooking. Toss the nearly crisp chickpeas with the spices and return them briefly to the air fryer. This takes the raw edge off the spices without scorching them.
The second is to season immediately after cooking. This is often safer for delicate spices and herb blends, especially if your air fryer runs hot. A tiny extra drizzle of oil, or even the residual oil already on the chickpeas, is usually enough to help the seasoning cling.
Be cautious with dried herbs. Small leafy bits such as oregano can catch and darken quickly in the airflow. They are usually better added after cooking.
Sweet coatings need a different approach. Sugar, honey, maple syrup and syrups in general are far more likely to burn before the chickpeas are properly crisp. They also soften the surface. If you want a sweet version, roast the chickpeas plain first, then coat lightly while still warm.
A simple sweet finish might be a small amount of sugar mixed with cinnamon, or a dusting of icing sugar and spice after the chickpeas have cooled slightly. If you want a sticky glaze, accept that the result will be more candied than fully crisp, and it will not keep its crunch for as long.
For savoury ideas, think dry and punchy. Salt and vinegar style is difficult to do well without introducing moisture, but a little vinegar powder, if you have it, works better than liquid vinegar. Cheese powders can be good if used lightly. Nutritional yeast adds a savoury edge, though again it is best after cooking.
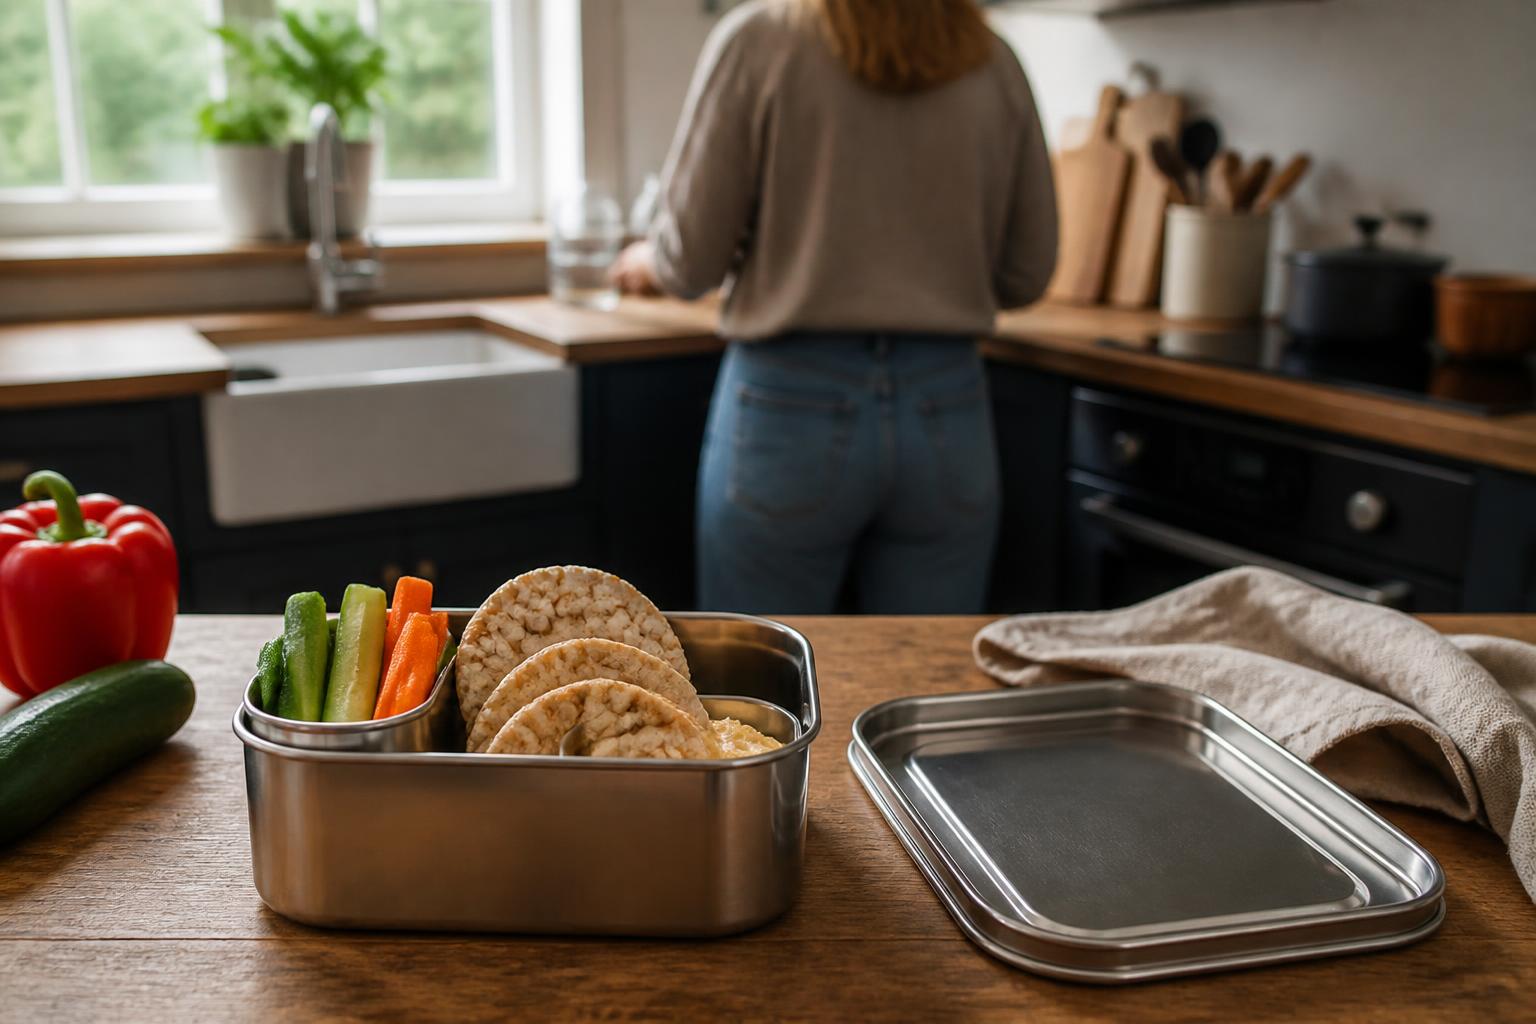
If you are packing these as part of a work or travel snack, pair them with foods that do not throw off moisture. That is the same principle we use in crunchy lunch boxes that stay crisp until you eat, where texture survives best when dry elements stay separate until the last moment.
How to store them and bring back the crunch
Cooling comes first. Always cool roasted chickpeas completely before storing. Spread them on a plate or tray in a single layer and let the steam disappear. If you funnel them straight into a jar while still warm, the trapped condensation will undo your work.
For short-term storage, use an airtight container only once they are fully cool. A glass jar or clip-lid tub is fine. Keep it at room temperature in a cool, dry cupboard, away from the hob and kettle. In a damp kitchen, they may soften faster.
There is a small trade-off here. Some people prefer to store very crisp foods in a loosely covered container for the first few hours so any last traces of steam can escape. That can help on the day you make them. For overnight storage and beyond, though, fully cooled chickpeas are usually better protected from ambient moisture in a sealed container.
In food safety terms, these are a low-risk cooked snack if handled sensibly, but they are not immortal. Start with properly cooked or tinned chickpeas, use clean hands and utensils, cool them promptly, and store them dry. In UK home kitchens, a batch is best eaten within 2 to 3 days for quality. They may still be safe after that if they have stayed dry and fresh-smelling, but texture drops off and they are rarely at their best. If they smell stale, feel tacky, or show any sign of mould, bin them.
Do not store them in the fridge if your main goal is crunch. Refrigeration introduces a humid environment and they usually soften more quickly.
If your batch has gone a bit chewy, it is easy to rescue. Put the chickpeas back in the air fryer at 160C to 170C for 3 to 5 minutes. Shake once halfway through, then cool them again before eating. That usually revives the exterior nicely. If they are very soft all the way through, give them a minute or two longer, but keep an eye on them so they do not darken too far.
This also means you can make them ahead in a sensible way. Roast them until nearly done, cool them, then give them a short re-crisp just before serving. It is especially handy if you want them for guests, or as part of a week of healthy snack ideas for adults that actually fit real days, where convenience matters as much as good intentions.
The final thing to remember is that not every batch will behave identically. Chickpea size, brand, air fryer model, basket shape and even the dampness of the day can shift the timing a little. But the pattern stays the same. Dry well, oil lightly, give them space, season at the right point, and cool fully before storing. Do that, and your roasted chickpeas will stay crisp for far longer than the average hurried batch.

Questions about this article or a correction to suggest? Get in touch. Read more about our editorial approach.